- Sensitivity labels for Microsoft Teams – get started – part 1
- Sensitivity labels in Microsoft Teams – part 2: start labelling.
Maybe you have been used to labels in documents and emails – now its also possible to label Teams and thereby protect the content inside the full team.
In group level protection you can use the following settings for the labels
- Privacy (public or private) of teams sites and Microsoft 365 groups
- External user access
- External sharing from SharePoint sites
- Access from unmanaged devices
- Authentication contexts
- Default sharing link for a SharePoint site (PowerShell-only configuration)
- Site sharing settings (PowerShell-only configuration)
- Default label for channel meetings
Background
Some background on sensitivity labels in general.
Sensitivity labels are used to classify and protect sensitive information based on its level of sensitivity. They provide a way for organizations to apply consistent protection policies across all types of information, including documents, emails, and other types of digital assets. Here are some reasons why organizations use sensitivity labels:
- Protect sensitive information: Sensitivity labels enable organizations to apply appropriate protection measures to sensitive information, such as encryption, access restrictions, or watermarks. This helps ensure that sensitive information is only accessible to authorized users and is protected from unauthorized access, disclosure, or misuse.
- Compliance: Many organizations are subject to regulatory requirements that mandate the protection of sensitive information, such as GDPR, HIPAA, or PCI DSS. Sensitivity labels can help organizations demonstrate compliance with these requirements by providing a consistent way to classify and protect sensitive information.
- Consistency: Sensitivity labels enable organizations to apply consistent protection policies across all types of information, regardless of the application or platform. This helps ensure that sensitive information is consistently protected, regardless of where it is stored, accessed, or shared.
- Simplify management: Sensitivity labels can be centrally managed and applied automatically based on policies. This simplifies the management of sensitive information and reduces the risk of human error or inconsistency.
- Collaboration: Sensitivity labels can help facilitate collaboration between different stakeholders by providing a clear way to communicate the sensitivity of information and the protection measures that apply to it. This helps ensure that everyone involved in the collaboration is aware of the sensitivity of the information and can handle it appropriately.
Configuring in Teams
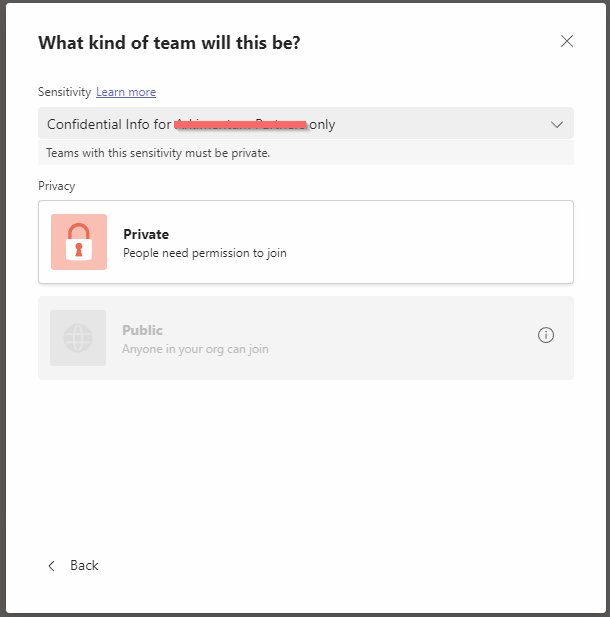
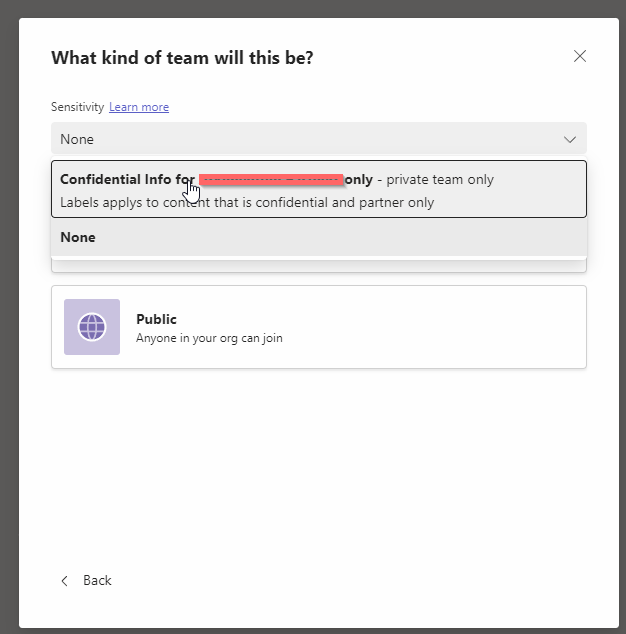
Sensitivity labels can be applied at creation time or by editing an existing team – please note its only possible to apply sensitivy labels to Private Teams, so when selecting a label – the option to create a public team will disappear.
Creating the labels
In this example i will create 2 levels – one for confidential and one for internal only – i would always recommend to start small, and do some thinking on your own taxonomy
Consider starting with the following:
Personal, Public, General, Confidential, and Highly Confidential
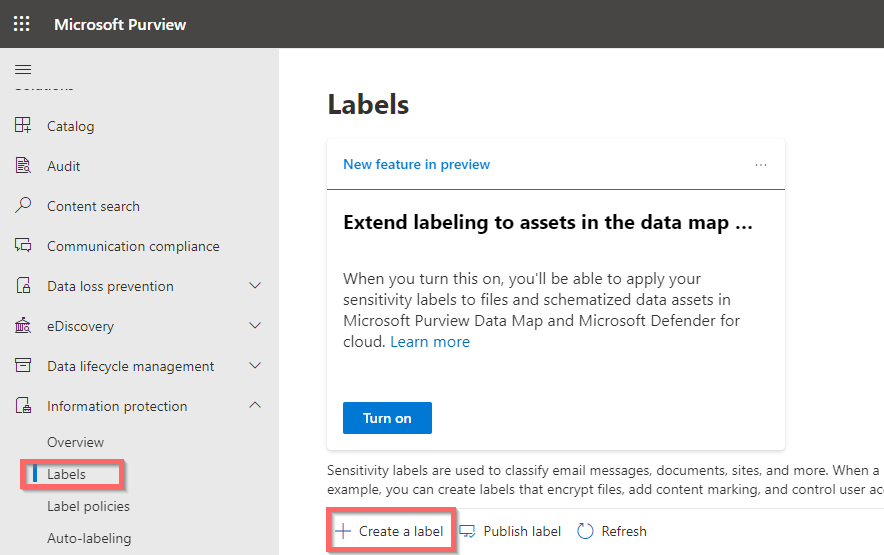
So go to Microsoft Purview portal
https://compliance.microsoft.com/informationprotection/labels
Click “Create a label”
On the first page give you Label som logical names.
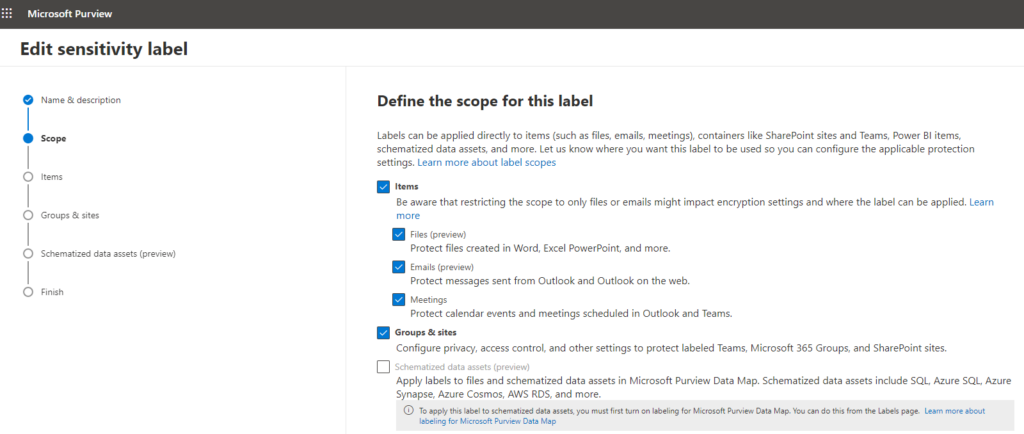
On the second page, set the scope to include “Groups and Sites”
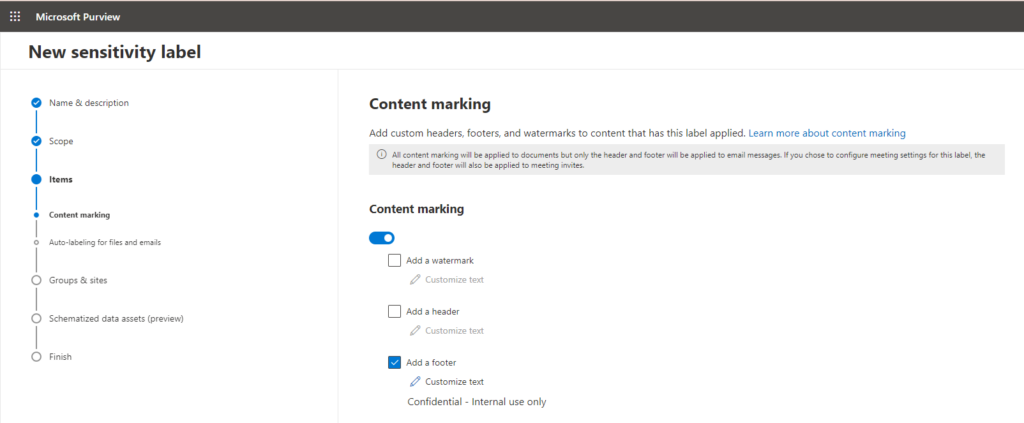
On the third page chose if you want to control the protection settings, maybe for confidential have automated encryption, or a watermark added to documents.
IF you selected either on page 3 – now in next step select the settings you have agreed upon.
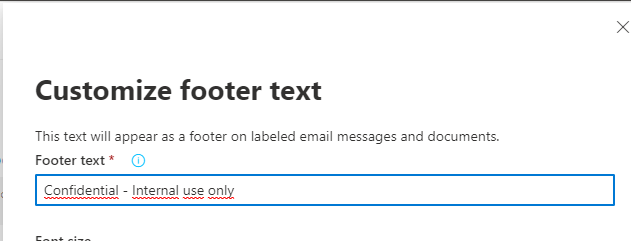
In this example i will configure a watermark
Now chose if you want to do automatic labelling – content based – in this example i wont.
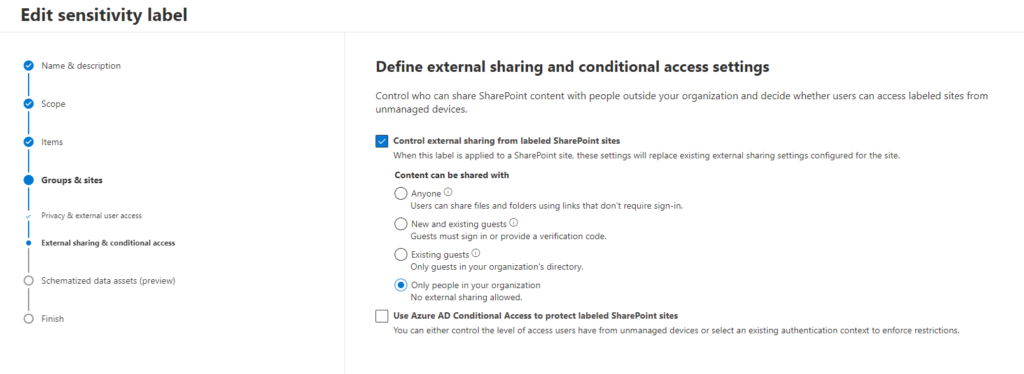
The select protections settings that are specific to Groups and sites.
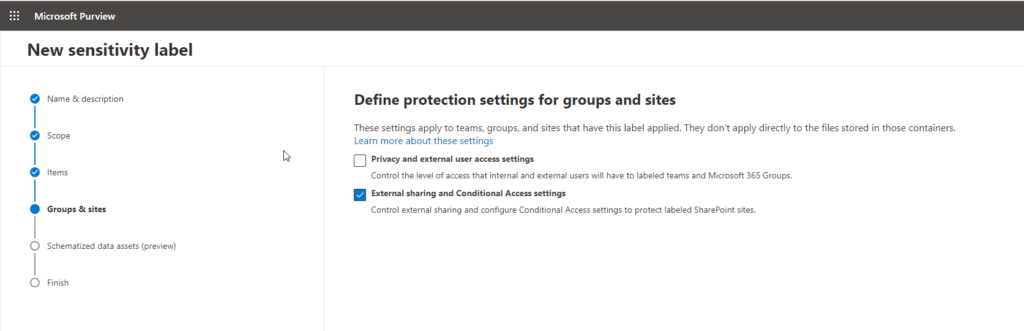
The non the following page make your slections – in thi example i will totally prevent external sharing as this is a confidential policy.
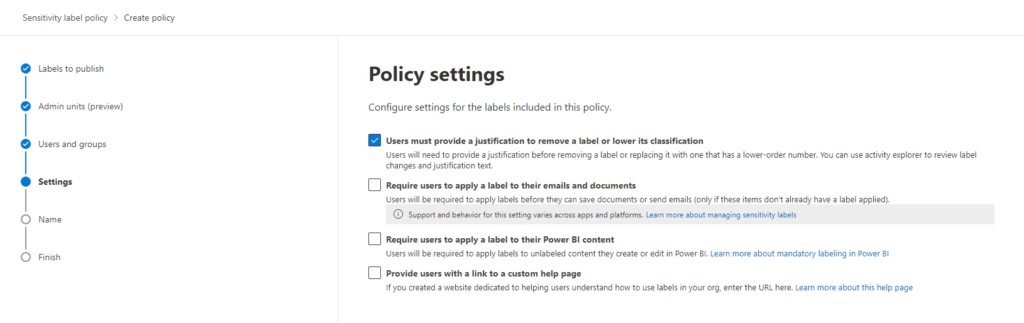
After you have create you labels – you need to publish them so they will become available to endusers.
For this purpose create a Label policy
If you only need to have the label made available, go with defaults for all selections
In this example, the only settings i will configure is limiting who can apply the label, and that IF the label is applyed to content, a user needs to give justification if he or she wants to remove it.
Time to go to Teams client
So lets see this in action.
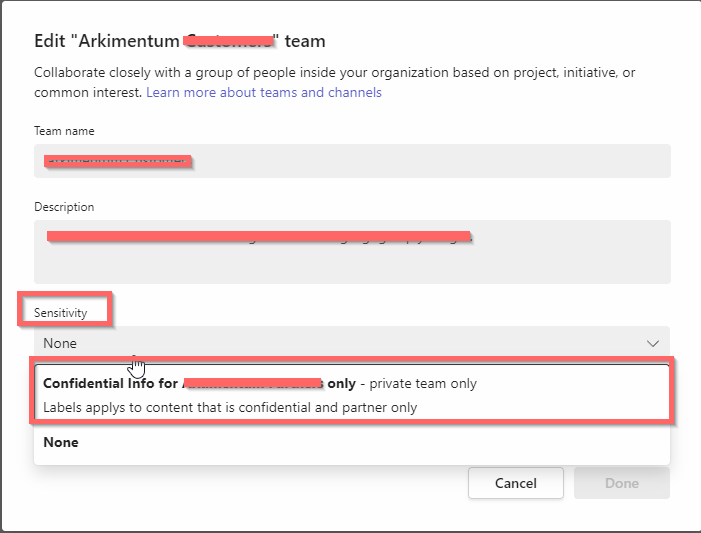
I will edit an existing team and apply the confidentiality label.
When creating a new team there is also a new selection available.
So what actually happens to the Team.
Let me start by suggesting to give this site a read, it serves wery deep and great information on Labelling for Teams sites and groups https://learn.microsoft.com/en-us/microsoft-365/compliance/sensitivity-labels-teams-groups-sites?view=o365-worldwide
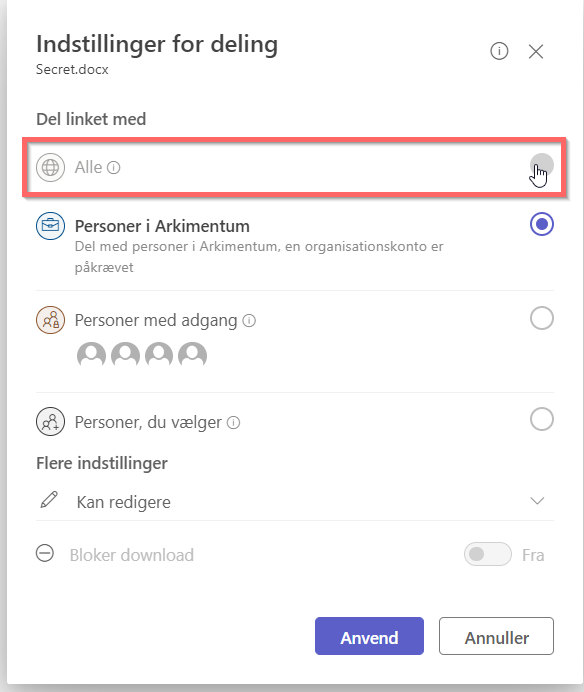
If i go into the Teams its now impossible for me to share anything in this team with anyone external to the company.
This is the experience inside a document placed in the Team where i applyed the label
Oh and sorry for my screendumps being in Danish, I think you get the point 🙂

This is the general experience when trying to share anything in the team
So now instead of asking the users to be carefull, we do policy based protection of the information – so instead of hopes and assumptions we have policyes and control 🙂
Next steps would be logical to follow are.
Automated labelling based on content type
Prevention of forwarding and printing of confidential documents
Auditing use of labels.
Hope this article is helpfull for someone, have a great day